This year we are doing a different style of Christmas beer. Instead of a stout base, we’re doing an old ale base. Still adding an assortment of holiday spices and flavors.
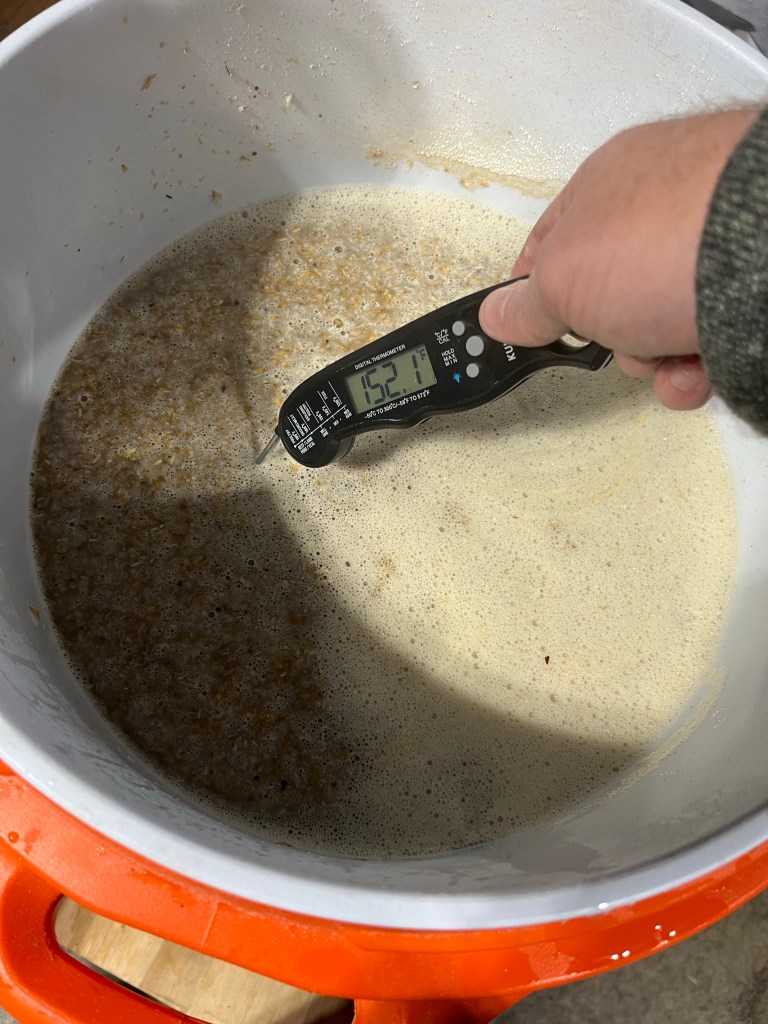
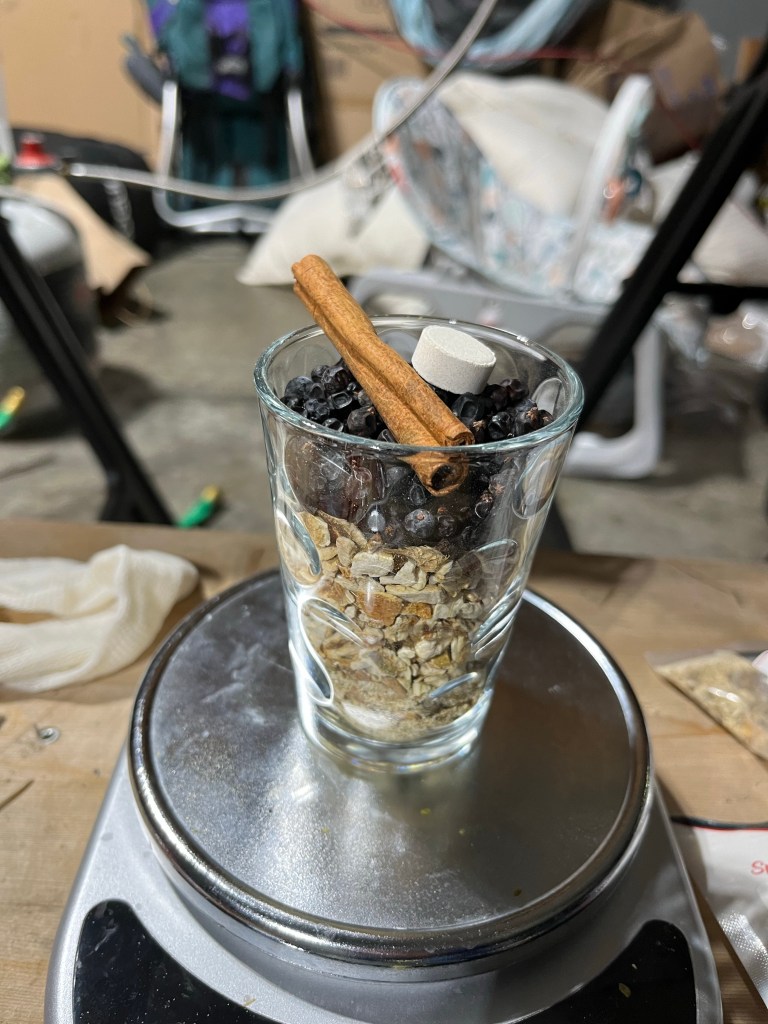
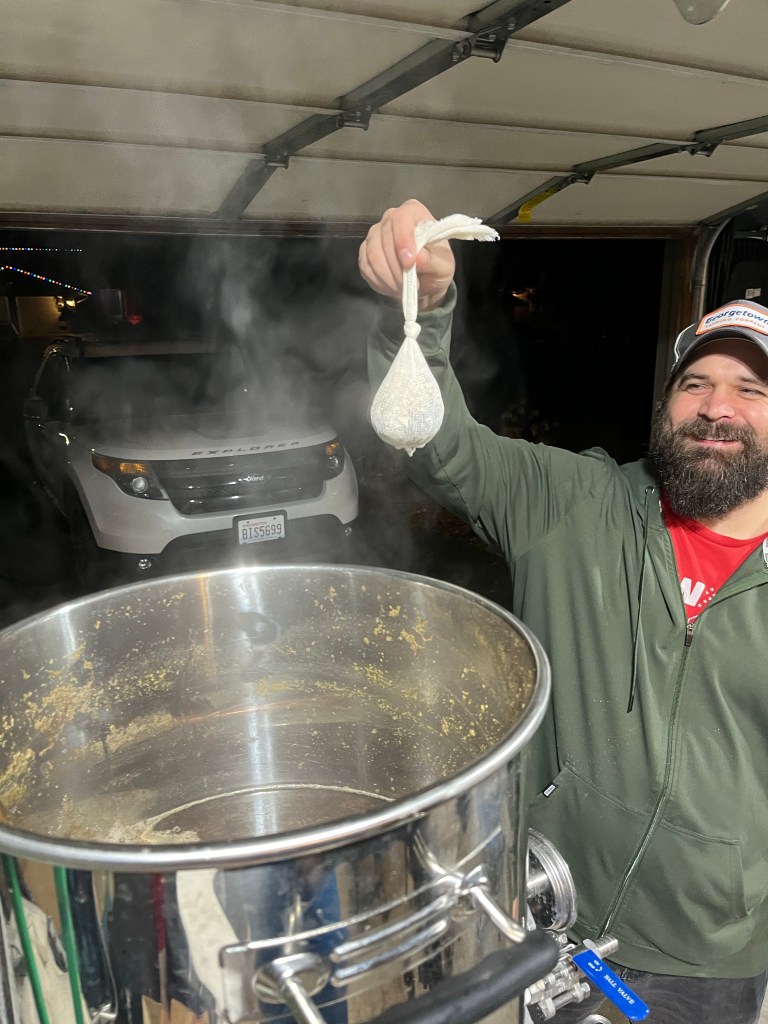
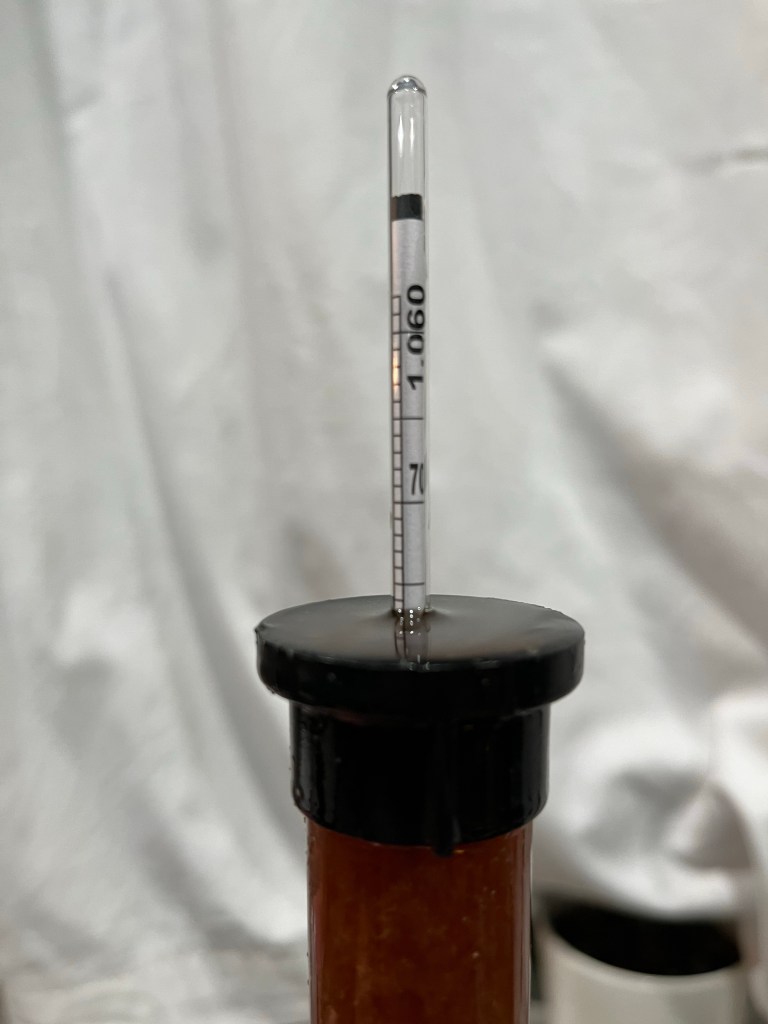
Mashed with 5.5 gallons, then added boiling water up to the 9 gallon line. Nailed 152°Spices and a whirlflocSpice sack added at flameoutA bit lighter color than our usual recipeIs it 1.076?Or is it 1.080?
Bottling day
Final gravity 1.014Got exactly 24 bottles
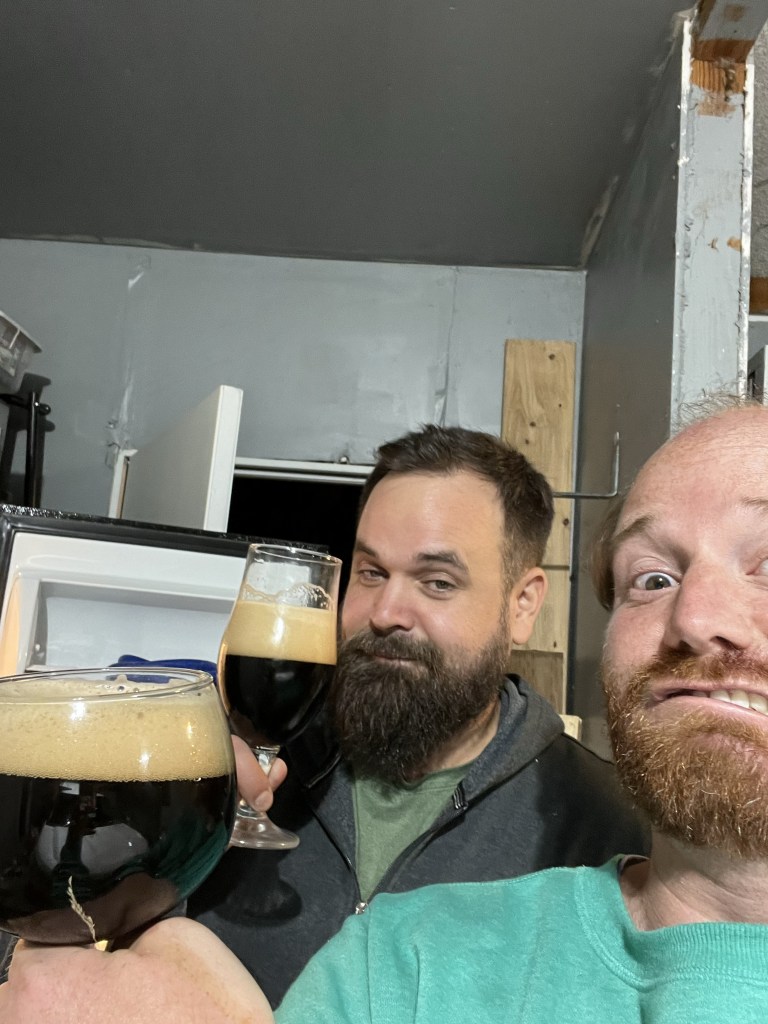
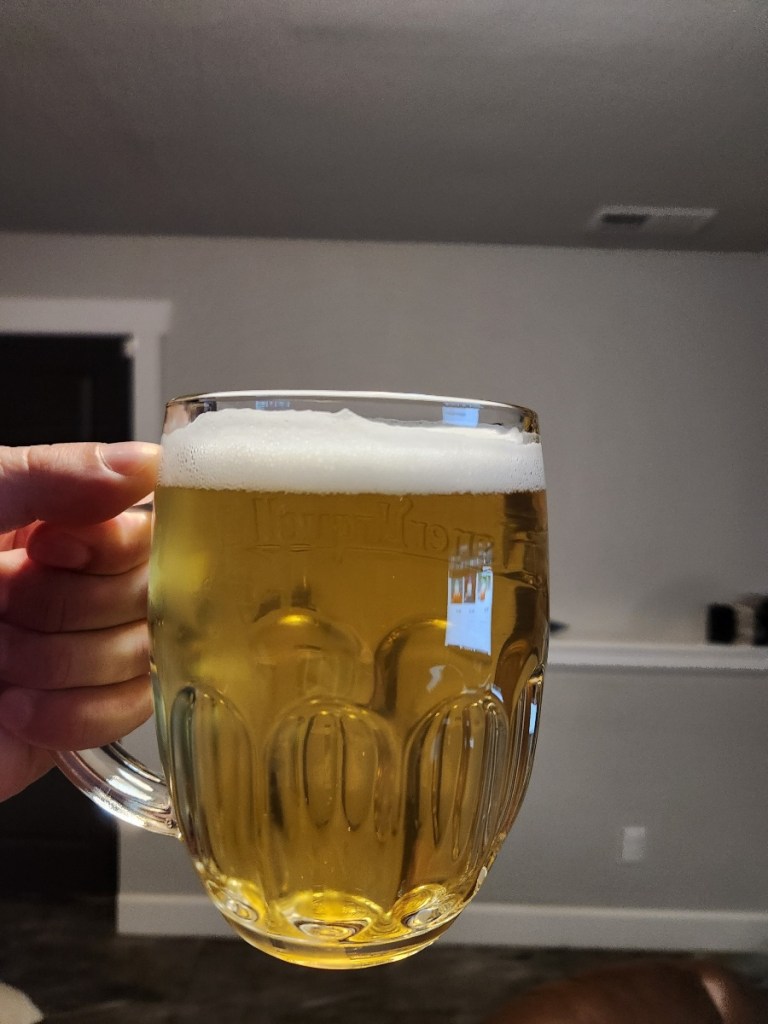
Bottling day beer tastes pretty good. Definitely spicy, not sweet. Spices are pretty well balanced, I think. Ginger, cinnamon, and orange are there, but not overpowering. Color is nice. Dark but not opaque. Some alcohol warmth, perfect for a cold day.
The Cascade Brewer’s Guild is having a club internal competition at the November meeting. Tony suggested that we go with a style that we don’t typically be in order to push ourselves to learn more about brewing.
The club voted to go with best bitter as the style for the competition. Matt and I have made a bitter before, inspired by a visit to Machine House last year. We got a bag of Maris Otter with the goal of exploring British styles. While we enjoyed the beers we made, including the bitter, a pale ale, English IPA, and barley wine, we didn’t change anything in our brew process aside from use English ingredients.
As we’ve interacted with other brewers, we’ve found that water chemistry is a rather important part of brewing that we have almost completely ignored. I say “almost” because we do make a point to get our brew water from the kitchen faucet instead of the backyard hose. So, you know, there’s that.
Field Trip
With Machine House having recently relocated just down the street from me, I decided to do some field research on the best bitter style. This style is one of the standard offerings at MH along with a dark mild.
It has a light to medium brown color. It smells very malty with a slight aroma that is almost smells like menthol along with flowers. The first thing that hits my tongue is some bitterness on the sides of my tongue. Then there’s a tart/sour flavor that washes over the middle part of my tongue before bitterness returns to the back part of my tongue. Carbonation is very light. There’s no visible bubbles, but there’s a sharp feeling of carbonation at the front of my tongue as I take a drink.
The malt flavors include some caramel sweetness, but not much. I’m trying to find more malt flavor, but the flavor fades pretty quickly with each drink, giving way to bitterness.
Recipe Research
I got Designing Great Beers a few months ago. I haven’t really used it for making beers because the styles we’ve made the last few months aren’t really covered in the book, like hazy IPAs. But this is the perfect book for learning about English styles since the author founded the Real Ale Festival.
A few things that make an English bitter unique compared to an American pale ale are the water chemistry, hops, and grain selection.
Notes from Designing Great Beers
The target water chemistry is the profile of Burton, which has hard water. With a sulfate content of 801 ppm, Burton has substantially harder water than the Everett municipal water with a sulfate content of 250 ppm. DGB tells me that 5g of gypsum added to 5 gal of water results in an addition of 148 ppm of sulfate, so we need 18.5g of gypsum to make up the 550 ppm deficit in Everett.
Hops, I didn’t much bother with. Goldings seems to be the standard. For an American style of bitter, I’d try Willamette which is derived from fuggle hops. Otherwise, could be interesting to try some of the more citrusy hops in the dry hop. English bitters do often have hops added to the cask before serving, so dry hoping is definitely an option.
Grains start with Maris Otter. Then there is the matter of getting some maltiness and a bit of color. Crystal 40 seemed like the default addition. Maltiness can be added with Munich, biscuit and their cousins Vienna, aromatic, and victory. Using only those wouldn’t really give the color I expect out of an English ale, so toasted malt or Special B could work. I saw some recipes using chocolate malt, and since we usually have that laying around, that’s my first thought to bump up the color, but need to be very conservative with the amounts. Like, 1–2 oz only.
So, there’s my research. I’m excited to try this one out.
Using the Brewer’s Friend mash temp calculator, we heated the strike water to 168° and added 3.5 gallons for a target mash temp of 152° for a single hour-long rest.
152.8°, not badJack and Molly are helping with the relaxing vibes
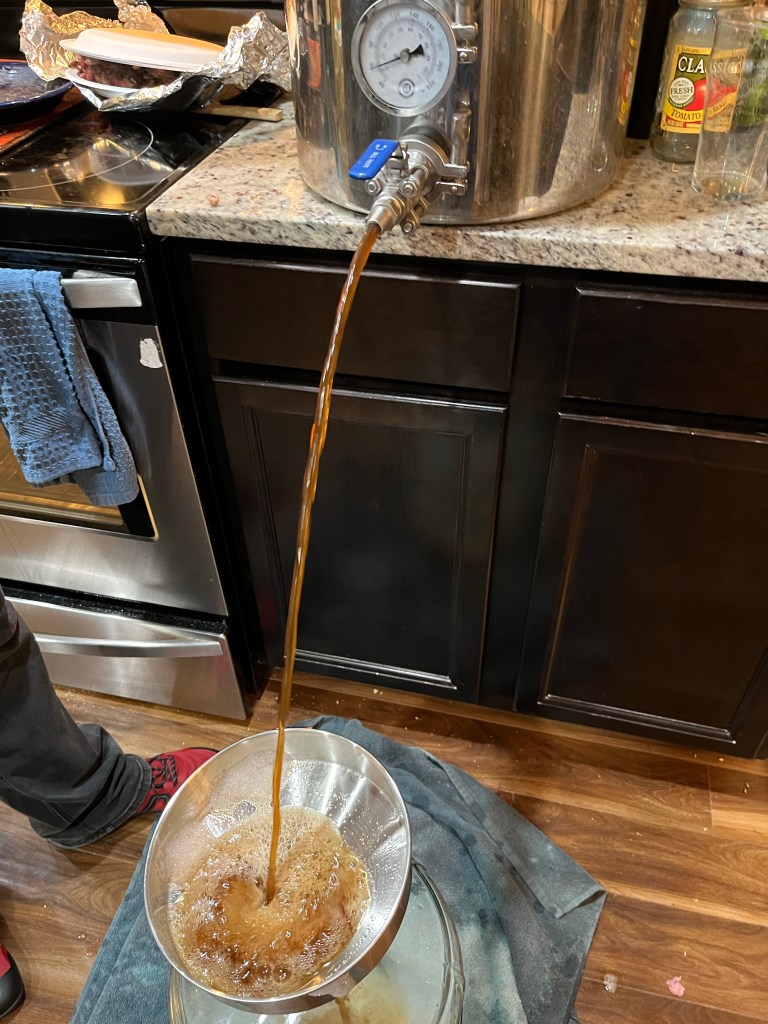
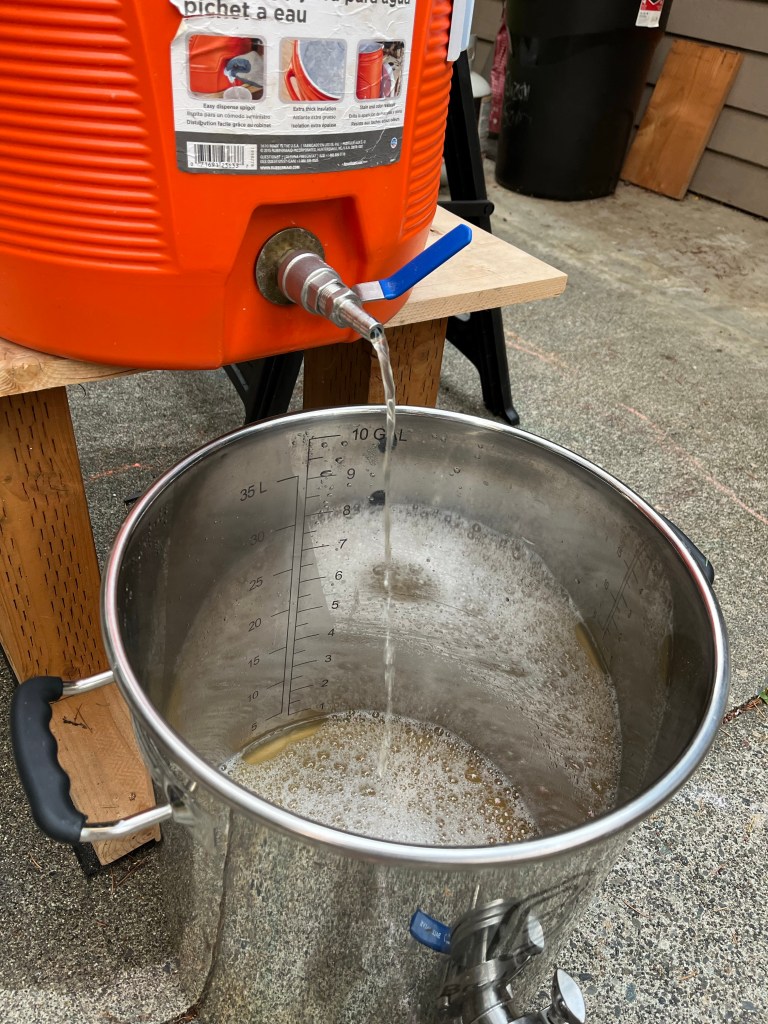
After the mash, added 3 more gallons of boiling water for a total of 6.5 gallons. Draining the wort, we ended up with about 6 gallons pre boil.
Only managed to get the wort down to 80° with tap water.
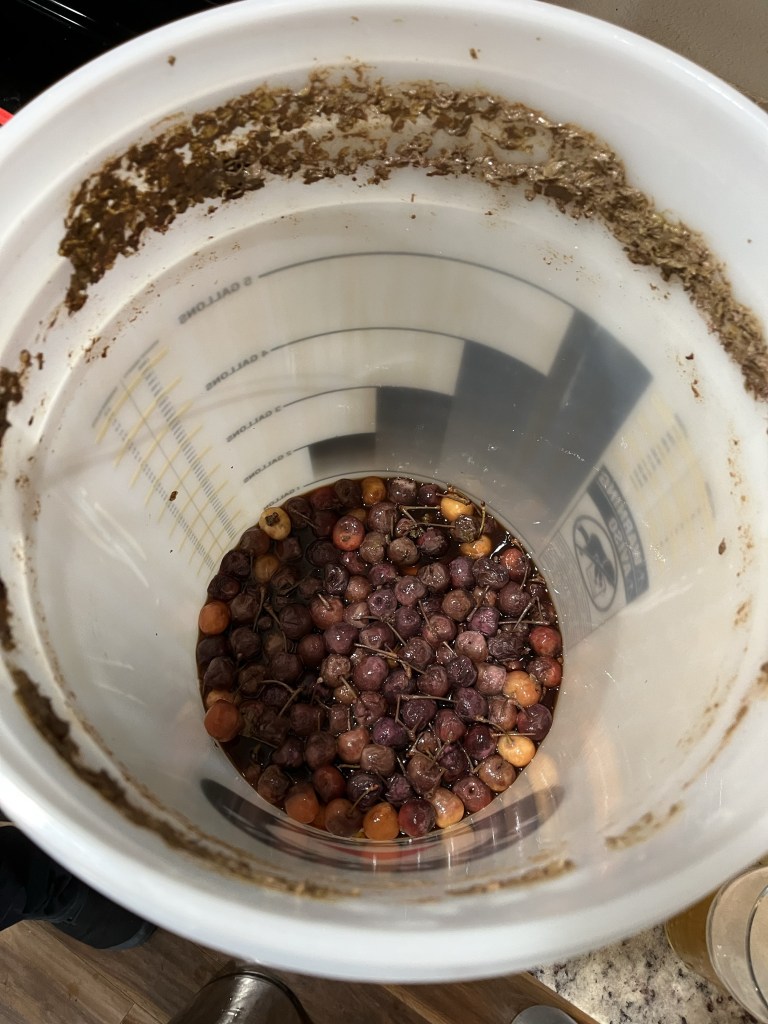
We decided to add the cherries after the beer has had a few days to ferment. We’re thinking that adding the cherries after the beer has some alcohol will make it less likely the cherries will contaminate the beer with whatever might be on them.
OG line is a bit fuzzy, but we called it 1.049
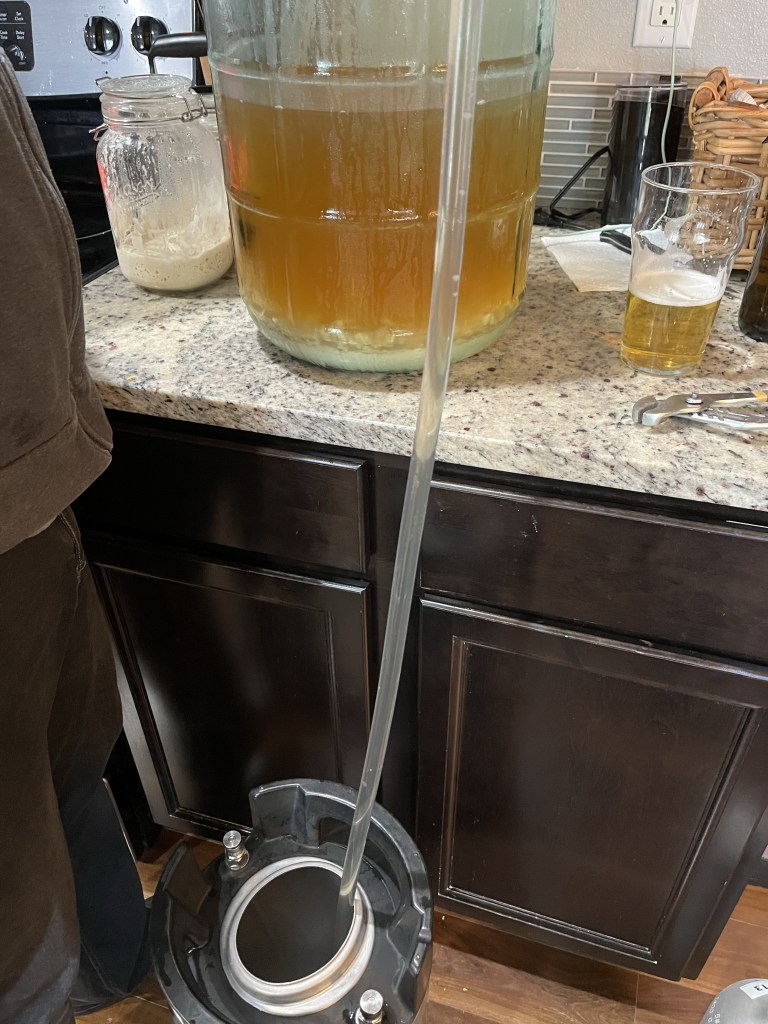
Kegging
Kegged the cherry stout. Forgot to take the final gravity.
It’s very dark
Is tart the right word? What’s the word for tasting like too many pennies? There’s just an overwhelming taste I can’t put my finger on. Maybe the tannins are too strong and will reduce over time. Maybe adding the cherries raw introduced some bugs. We’ll wait a couple of weeks then revisit this one.
Today is rice lager day! We’ve never brewed a rice lager before. Now that I think about it, we’ve never brewed with any grain besides barley. So this is a new adventure. While learning about rice lagers, we primarily referenced the following pages:
We followed the cereal mashing process described on Milk the Funk, and we followed the recipe for a “Japanese Lager” clone of Asahi by Brewdyssey on the Brewfather app.
We decided to use the barley and rice we had on hand, so our usual two-row pale malt from Skagit Valley Malting (RIP) and some regular rice Matt had in the kitchen. Is it jasmine? Is it basamati? It is rice.
Jack Jack takes his ceremonial position on the brew day towel laid out specifically for him on this occasion
Recipe
We used a slightly modified version of the recipe from Brewdyssy.
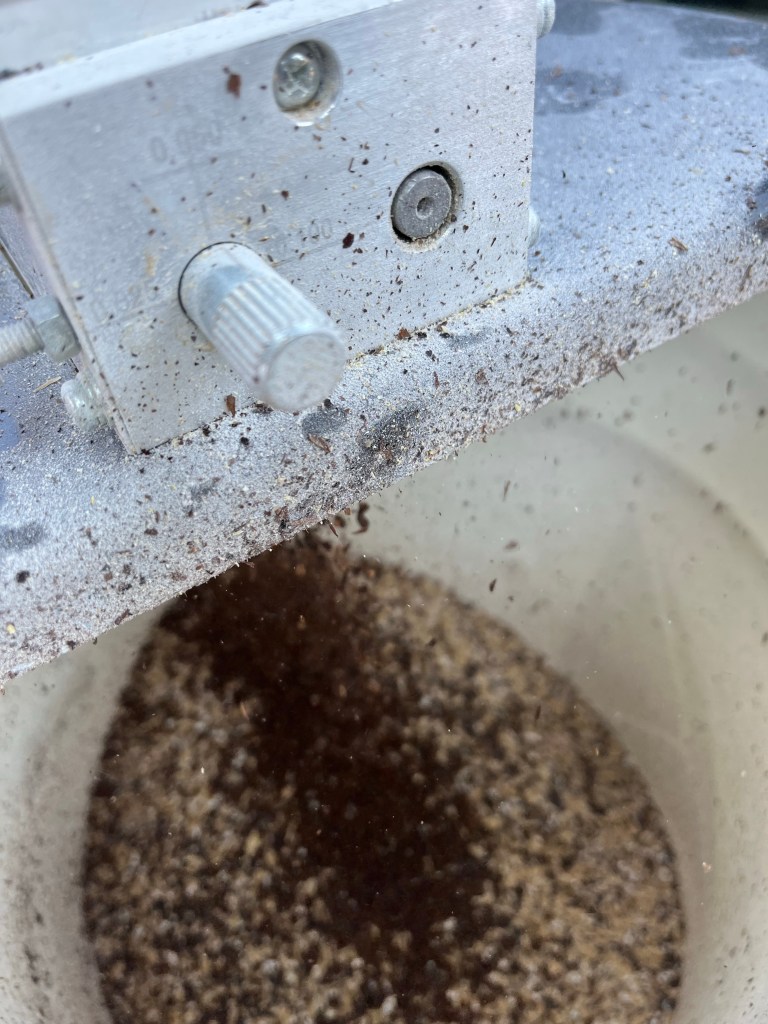
We started with crushing the rice on the finest setting on the grain mill. Rice is harder than barley, so we had to crank up the torque on the drill we usually use for driving the mill. We cooked the rice with about twice as much water as rice. Temp maxed out at around 165°. The rice absorbed the water pretty quickly, so it never had a chance to boil.
We left the rice on the stove while we heated up the strike water, and the temp was about 158° when we came back to it before adding to the mash tub. Might have sat on the stove for ~30 minutes.
The rice right after we put it on the stoveThe rice right before adding it to the mash tun
We milled the barley as usual, at the medium setting in the grain mill.
Using an online calculator from Brewer’s Friend, we mashed in at 165° with 12.5 liters of water with a target temp of 152° for a single 60 minute rest.
Rice and barley in the mash tun
Held the mash at 152° for about an hour. Maybe 15 minutes longer while we were heating up the remaining water. Dropped down to 150°. Added 3 more gallons of boiling water to the mash for a total of 7 gallons.
Draining the wort, batch sparge
Got about 5.5 gallons of wort before the passive flow ran out. Pressed down on the grain with a dinner plate to get out an extra 0.5 gallons for a total of 6 gallons for the boil.
Cooled the wort down with an immersion chiller to 80°, which is as cool as we could get with the tap water coming out at 72°.
Transferred to a carboy without straining. Added the two packages of yeast along with 6g of glucoamylase (didn’t add any glucoamylase during mash). Put the carboy in a fermentation fridge, currently reading 46° but set to a target of 54°. Hopefully the warmer wort will balance with the cooler fridge to arrive at the target temp in a couple of hours.
Jack Jack isn’t sure about adding enzymes to beer.OG was 1.056Wort heading for a two week nap at 54°
So, that wraps up the first brew day writing a blog post along the way. We’ll update the post when we keg and then again when we pour and taste.
Fermentation update
The following Sunday, August 27th, active fermentation has slowed down. There’s some interesting stuff coagulating in the carboy. I wonder if that’s because of the rice.
Beer after a week of fermentation
Kegging
Kegged after cold crash at ~30° for about a monthVery sharp line at 1.020. I’m not sure how to convert the refractometer reading to FG.We did a quick carbonation on kegging day, setting the CO2 to 40 lbs, and shaking the keg for a while. So it’s pretty cloudy.Frothy head
On kegging day after a quick carbonation, rice lager tasted fruity. Not necessarily bad, but I had expected it to be more crisp. I’ll post an update after the beer has had some time to settle and clarify.
Well, my laptop died while I was working on the post about sharing recipes. Good a time as any to see how well I can write a post on mobile. I’d like to use my phone to do a lot of the documentation on brew day anyway. I especially want to try adding links to recipes from Brewfather and adding photos.
Photos
Let’s try adding some photos.
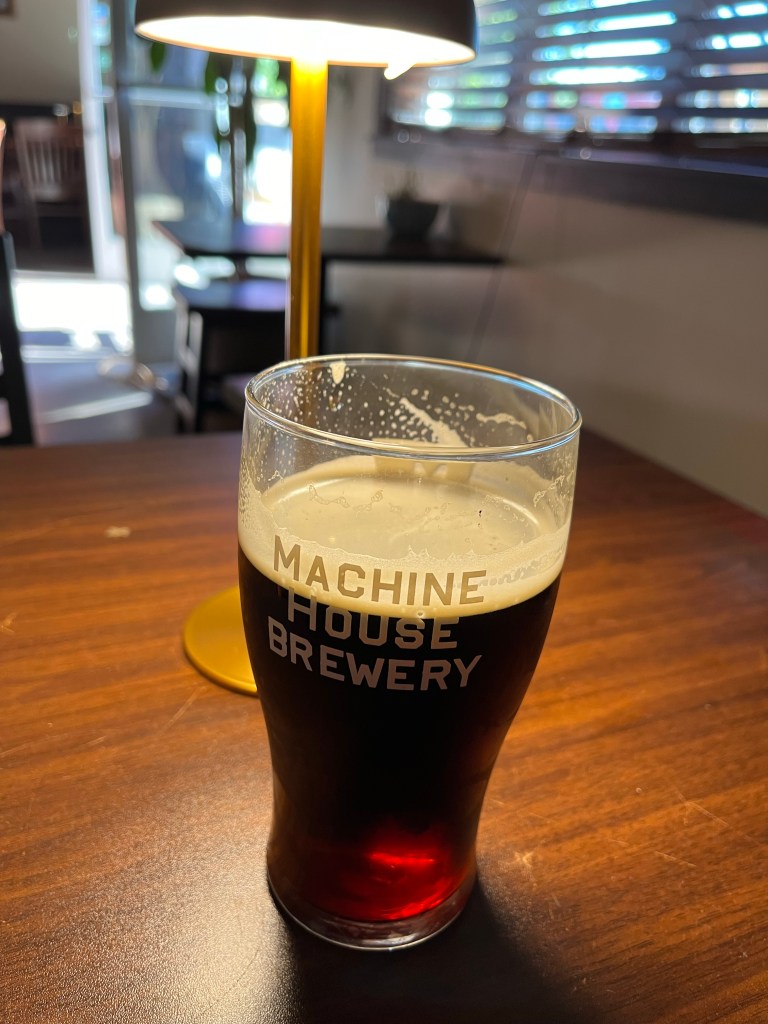
Here’s the first beer I drank a Machine House today
Cool, I was able to add a photo from my library. I added a picture of a Dark Mild from Machine House, ABV 3.7%. That was really easy. Now I’ll see if I can take a picture directly through the WP app.
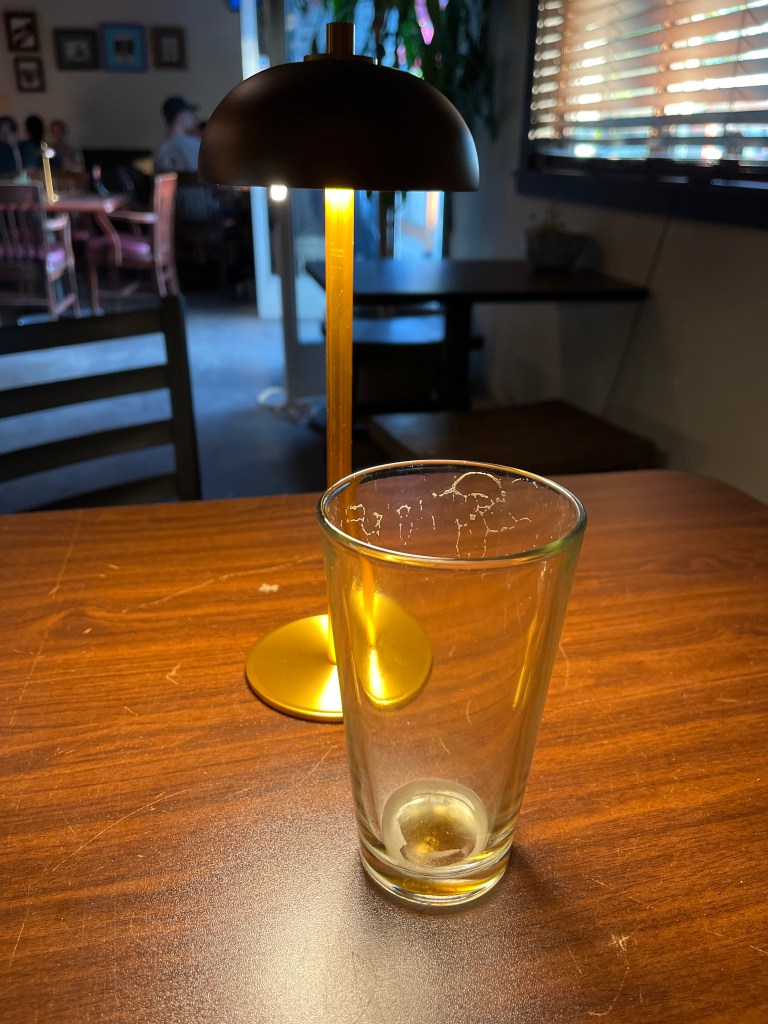
Here’s the second beer I drank at Machine House today
Wow, it was quite easy to take a picture directly with the WordPress app. I like that it has space to add a caption to the photo by default. The beer I took a picture of was a Dark Lager (ABV 4.6%).
So far, I’m quite happy with the potential of WordPress to be a functional part of my brew day.
Links
Now let’s see if I can switch between the Brewfather app and here to share a link to the recipe.
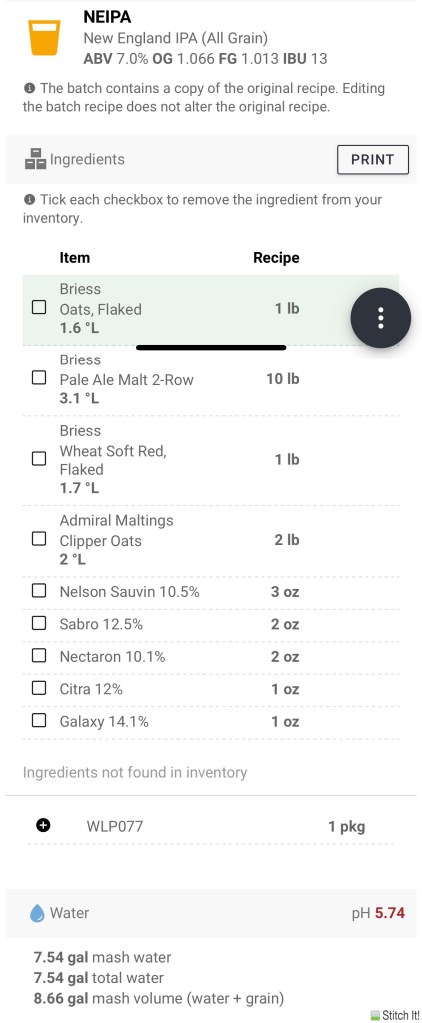
Now that I’ve done that, I’ll try to take long screenshot of the recipe from my phone.
Alright, that took some work. As was the problem on my laptop, I had trouble taking a screenshot that was larger than my screen. But there are apps that will let you join multiple images into one. I used Stitch It, and that’s the output of the image below. Stitch It requires purchase for $2.99 otherwise it shows ads between actions. But for a once-a-month brew day, it may be worth sitting through 30 seconds of ads to be able to include an image of the recipe in the article.
Recipe for a Hazy IPA
Before publishing, the recipe looks decent. Image text is smaller than the body text, and the image isn’t super clear, but it’s readable enough. Not ideal but fits my basic needs.
Overall, I’d say the mobile app of WordPress lets me do all of the basic things I want to do. It’s not all ideal, but it definitely gets the job done, even if it required some minor hacks.
Thanks to feedback from members of the Cascade Brewer’s Guild, I’ve got two options for sharing recipes.
Share a screenshot of the recipe
Share a link to Brewfather
Let’s see how they work.
Screenshot
Here’s a screenshot from Brewfather.
To get the entire recipe in this screenshot, I had to zoom out to about 50% on my laptop. Then I used cmd + shift + 4 to take a screenshot of a screen selection.
Whatever formatting template I’m using right now, the image is aligned quite far left of the left edge of the text, so that doesn’t look great. The text in the image is also a lot smaller than the body text. I’ll have to check after I publish the post, but I’m thinking the image text will look quite small and will be tough to read.
I looking into options for taking screenshots larger than the size of the screen, but all I found was how to take video captures of the screen. I’ll have to explore the possibility of taking a larger screen capture more.
UPDATE: After publishing the article, I checked the output on my phone. The image quality is pretty bad. I had tried to shrink the image so it fit on the screen better, but that resulted in squishing the image. So I’ll still need to work on the process for getting a nice image in here.
Link to Brewfather
How about sharing a link from Brewfather. To get the link, I went to the Brewfather app via my laptop browser, picked a recipe, then clicked the “Share” button on the top-right menu bar. Pasted the link below.
Alright, there is a link. It’s a link. You can click on it.
I’ll have to check if someone without a Brewfather account can access the recipe.
UPDATE: After publishing the article, I tested the link on my laptop and on my phone. Link works well, takes me straight to a minimalist and functional site from Brewfather that presents the recipe.
Now I want to see if I can add a recipe from BrewFather. Let’s see how it goes.
My First Heading
My first paragraph.
Spruce Beer
Spruce Beer
1
All Grain
Unknown
1
All Grain
Brewfather
23
28
60
72
1.054
1.013
5.38 %
Okay, so that wasn’t ideal. It’s just a bunch of raw text and numbers. I tried to figure out an easy way to convert the beerXML to a more readable HTML. There’s a plugin for WordPress here, but apparently WP requires an expensive upgrade to a more professional version in order to use plugins.
It shouldn’t be too hard to write a script to format the beerXML into a standard HTML output. Problem is, it’s another manual step to process the file, and it might be the difference between actually writing a blog post about a batch and not.